Preface
Without sensors and feedback that utilizes them, your robot is basically an overengineered RC car.
Seriously, in a demo event I remember one parent asked, “What makes this a robot and not just a RC car?” It was difficult to answer that question.
Let’s take a look at the sensors we use in our FRC robots.
Sensors
1. Encoders and Potentiometers
Encoders and potentiometers are both examples of rotary sensors - they measure rotation. They are the most commonly used sensors in our FRC robots. We can use encoders to measure the position of a rotating arm, flywheel speed, how much an elevator has been raised, and more.
Read this article to learn the difference between absolute and relative (incremental) encoders.
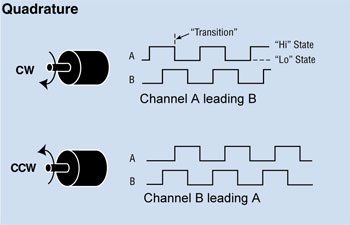
You might see the term quadrature encoder tossed around a lot. All that means is that the encoder can tell you the speed and rotation of a shaft bidirectionally (both forwards and backwards). This is possible because they send output through two channels, A and B, which are out of phase by 90 degrees. The phase difference is what determines the directionality, and that’s why the function to flip the direction of an encoder reading is called setSensorPhase. Also, if you use a breakout board with an encoder, you’ll need to be careful about getting the second signal wire in the right pin.
Pulses per revolution (PPR) is a measure of the resolution or precision of an incremental encoder, with one revolution being 360 degrees. Inevitably, encoders will slowly accumulate error. For example, an arm observed at 0 degrees might read 0 pulses, but after moving it away, then back to 0 degrees again, the encoder will read 340 pulses. To account for error, another sensor, such as a limit switch, can be used at some point of the arm’s movement to reset the encoder. Better yet, if possible, use an absolute encoder.
For continuously turning systems, you can pair an encoder with a 360° potentiometer measuring the same output shaft then program the encoder to always be “zeroed” at start up. Team 971 has done this with their robots; a video of their process can be found here.
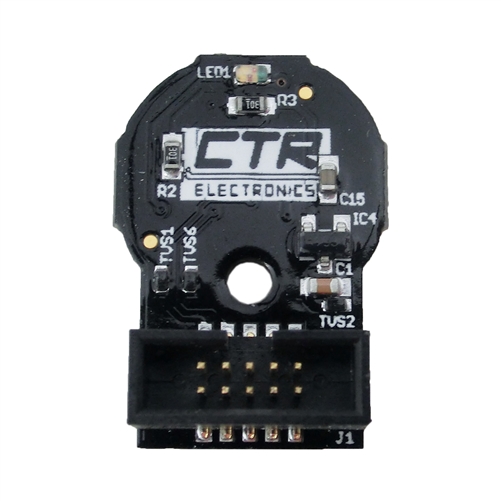
We recommend the use of the SRX Mag Encoders. They can be directly wired to Talon SRX’s, and are easily programmable using CTRE’s libraries.
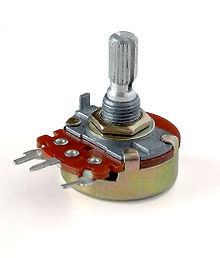
Read about potentiometers in this article here. Although we don’t use potentiometers very often for our robots, they may prove more practical than encoders in certain circumstances. Here’s a Chief Delphi thread on potentiometers vs. encoders, and why you’d want to use one over another.
3. IMUs
Learn about the differences between accelerometers, gyroscopes, and IMU’s in this Sparkfun guide.
These sensors can be used to keep the robot’s drivetrain orientation, prevent it from tipping over, and more.
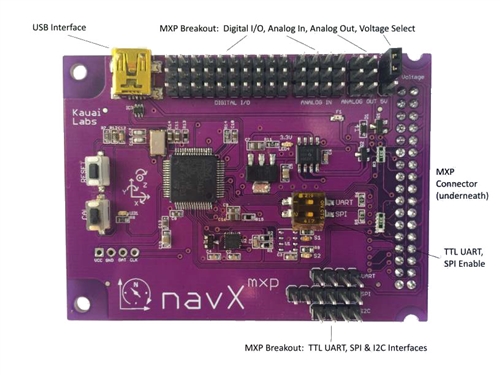
We most commonly use the navX-MXP by Kauai Labs. It plugs into the RoboRio’s MXP port, or alternatively, you can use their omnimount. The libraries provided by Kauai Labs make programming for the navX simple.
Other IMUs by FRC teams include the Pigeon IMU (which is easily integrated with the Talon SRX), ADIS16448 by Analog Devices, and Spartan Board by 971.
4. Limit Switches
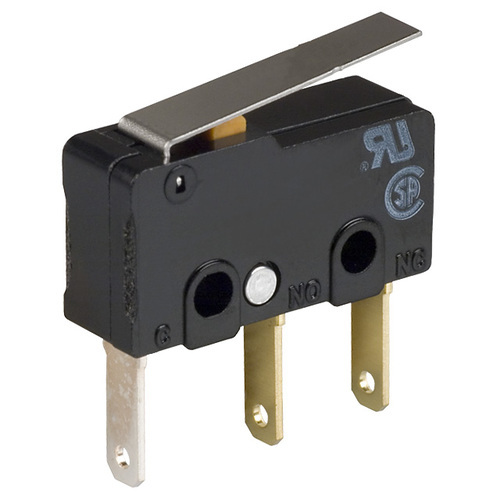
Read this article to learn what limit switches are, how to wire them, and how to program them. WPILib also has an article on programming limit switches. When using a limit switch, be sure to note whether it’s normally open (NO) or normally closed (NC).
Hall effect sensors can be used as a contactless limit switch. We recommend this sensor intended for use on the DART actuator. If you’d like, you can learn about how hall effect sensors work here.

5. Other Not so Common (But Maybe Useful) Sensors
- Ultrasonic
- Reed switches (usually on pneumatic cylinders)
- IR sensors
- Break beam sensor
- LIDAR (probably overkill)
- Cameras in the Vision section
Programming Sensors
Take a look at WPILib’s official sensor section. They provide information and code examples on how to implement different sensors into your FRC robot.
Other documentation:
Further Learning
FRC Team 1678 has done multiple workshops on “RoboRio and Sensors.” Watch one of these videos to supplement our notes above.
Edit me